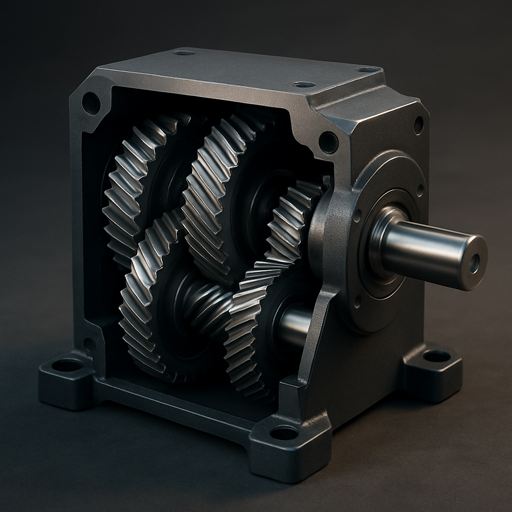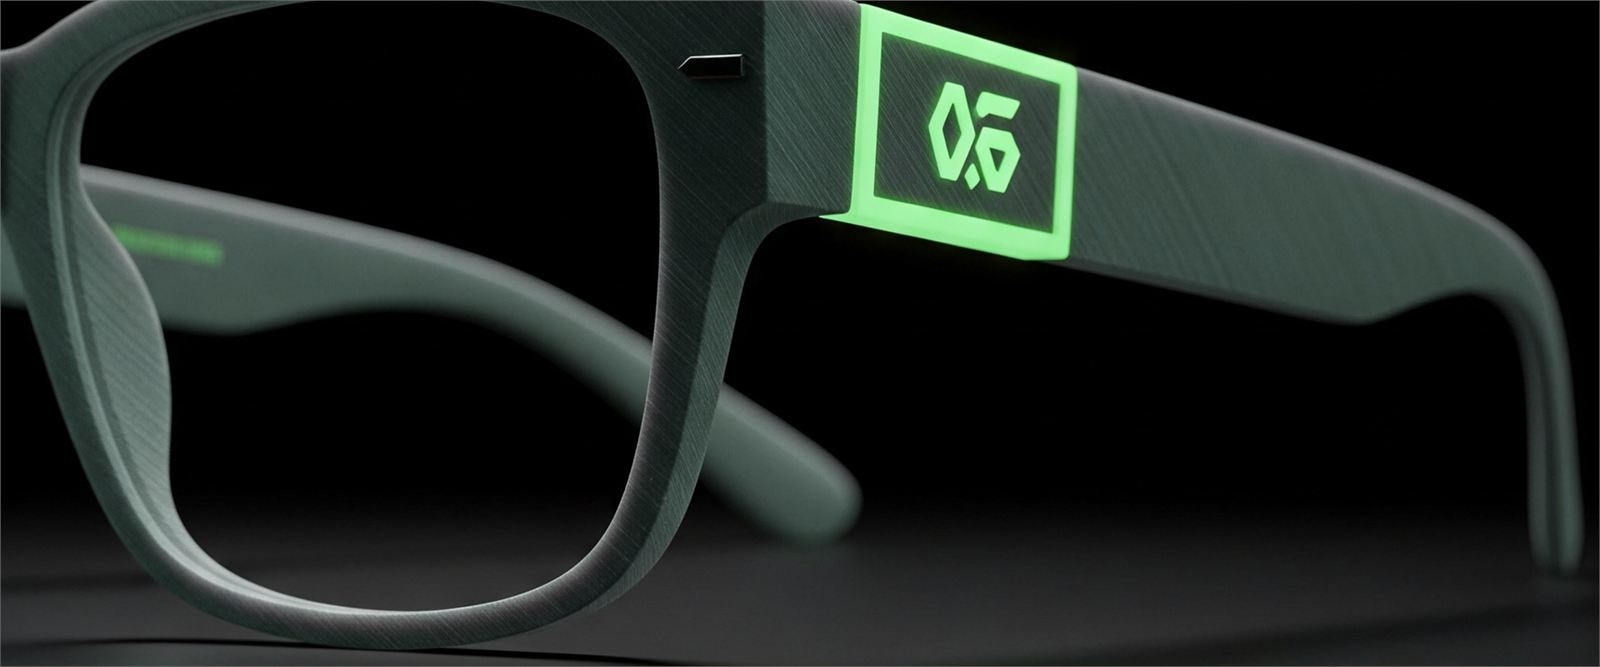
A good model and good materials can still produce a flat render. Camera, lighting and render settings are where a scene becomes an image. This is the setup we start from for product and cinematic shots.
Step by step
Choose the lens like a photographer
Longer focal lengths (around 85–135 mm) flatten perspective and flatter products; wider lenses (24–35 mm) suit interiors and dramatic scale. In architecture, keep verticals straight with a shift lens or two-point perspective.
Compose first, light second
Lock the camera and composition before lighting — lighting is always built for a specific view.
Start with one key light
Add a large, soft key light and study the form. Then add a fill to control contrast and a rim or back light to separate the object from the background.
Use an HDRI for reflections
A studio or environment HDRI gives believable reflections on glossy and metallic surfaces. Rotate it until the highlights land where they flatter the form.
Set depth of field with real values
Use real f-stops and focus distances. Shallow depth of field suggests scale; too shallow makes a product look like a miniature.
Configure sampling and denoising
Use adaptive sampling with a noise threshold, enough light bounces for glass and interiors, and a denoiser for previews. For finals, check that the denoiser isn’t smearing fine texture.
Render to a high-bit-depth format
Save 16- or 32-bit EXR files with render passes — beauty, diffuse, specular, emission, Z-depth and object IDs — so exposure and grading can change later without re-rendering.
Pick a view transform and keep it
AgX or ACES handle bright highlights far better than a plain sRGB curve. Choose one at the start and keep it through compositing.
Tips
- Keep a grey ball and a chrome ball on a hidden layer to check lighting.
- Render a quick low-sample preview of the whole sequence before committing to final frames.
- Looking for lighting environments? Browse the ZIBADIS HDRI tool.
Next, take the rendered passes into post-production.