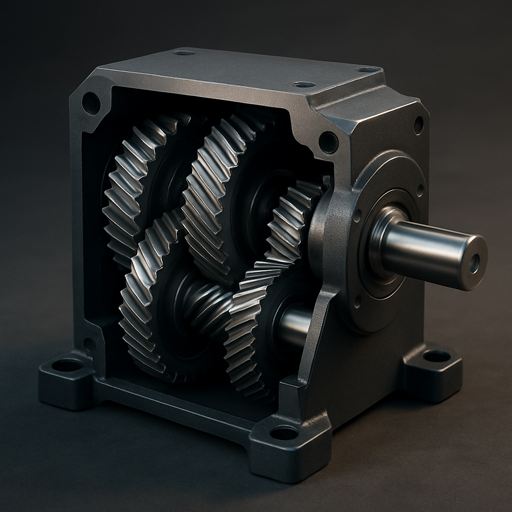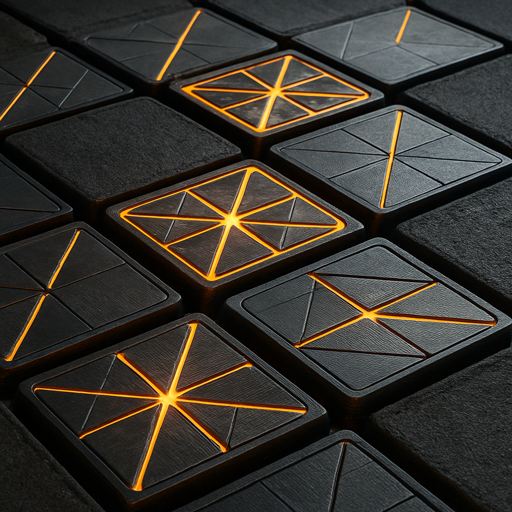
The render is not the final image. Compositing and grading are where exposure is balanced, effects are integrated, and the image is prepared for where it will be seen — a website, a printed page or a screen.
Step by step
Render the passes you will need
Beauty plus diffuse, specular, emission, Z-depth and object or material IDs (cryptomatte). Passes let you fix one element without re-rendering the whole frame.
Work linear, at high bit depth
Keep EXR files in 16- or 32-bit float and composite in linear space. Grading 8-bit images causes banding in skies and smooth gradients.
Rebuild and balance
Adjust passes individually: lift the reflections, calm a hot emission, or darken the background through a mask.
Integrate the effects
Add depth haze from the Z pass and glow from emissive passes, and bring in volumes and particles that were rendered separately.
Grade
Set exposure and white balance first, then contrast, then creative colour. Keep product colours true to the physical product.
Add lens character sparingly
A touch of vignetting, grain or glare makes an image feel photographic; too much makes it feel like a filter.
Export for the destination
Web: sRGB JPEG, PNG or WebP at the displayed size. Print: high-resolution TIFF, with the CMYK conversion checked with the printer. Video: a mastering file such as ProRes, plus an H.264 or H.265 delivery file.
Tips
- The same steps work in After Effects, Nuke, Fusion or Blender’s compositor.
- Compare against the raw render regularly — it is easy to over-grade.
- Keep one reference frame for the grade of a whole sequence.
Start the pipeline from the beginning with Modeling basics.