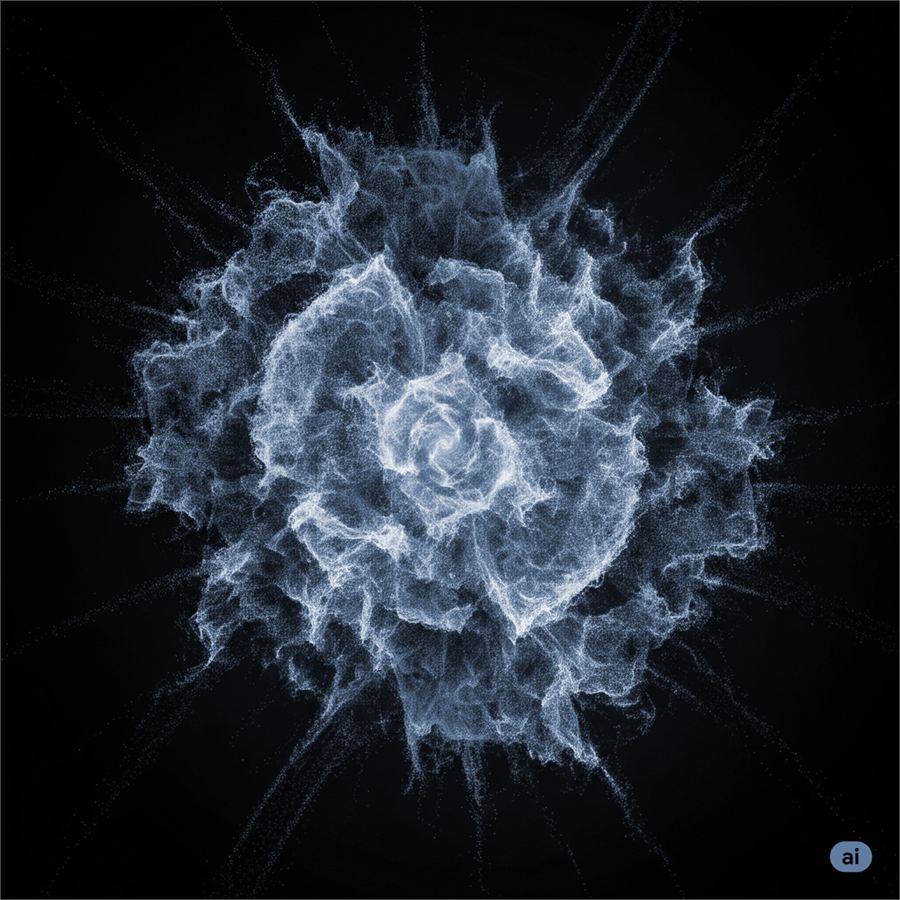
Particle systems power sparks, dust, debris and energy effects, and they are the starting point for most smoke, fire and fluid simulations. The concepts are the same in X-Particles, tyFlow, Houdini and Blender — only the button names change.
Step by step
Define the emitter
Choose where particles are born — a point, a surface, a volume or a mesh. Set the birth rate or total count, and whether emission follows the emitter’s motion.
Set lifetime and initial velocity
Lifetime controls how long each particle lives; randomise it slightly. Initial speed and direction, with some spread, give the effect its energy.
Add forces
Gravity, wind, turbulence and attractors shape the motion. Turbulence adds natural, curling movement — keep it subtle at first.
Add collisions
Let particles bounce off or stick to scene geometry, with friction and bounce values that suit the material: sparks skid across metal, dust settles on floors.
Drive properties over life
Scale, colour, opacity and emission usually change as a particle ages. Sparks cool from white to orange to dark red; smoke expands and fades.
Cache the simulation
Write the result to disk before rendering. Cached particles render the same way every time and can be shared across shots.
Render
Render particles as points or streaks with motion blur, instance small geometry for debris, or convert them to a volume for smoke. Motion blur is essential for fast effects.
From particles to smoke, fire and fluid
Smoke and fire are usually a volume (voxel) simulation seeded by particles or an emitter; liquids use particle-based FLIP solvers whose result is then meshed. The same habits apply: real-world scale, low-resolution iteration and caching. For production advice on those solvers, read Particle simulation tips for production.