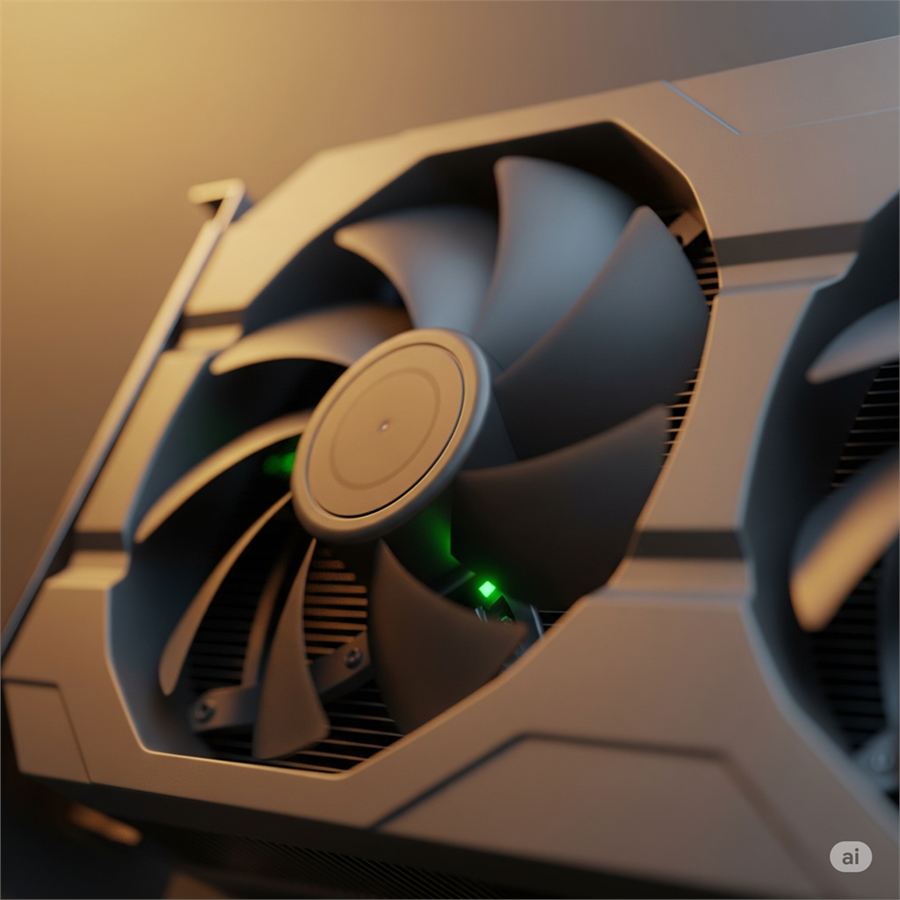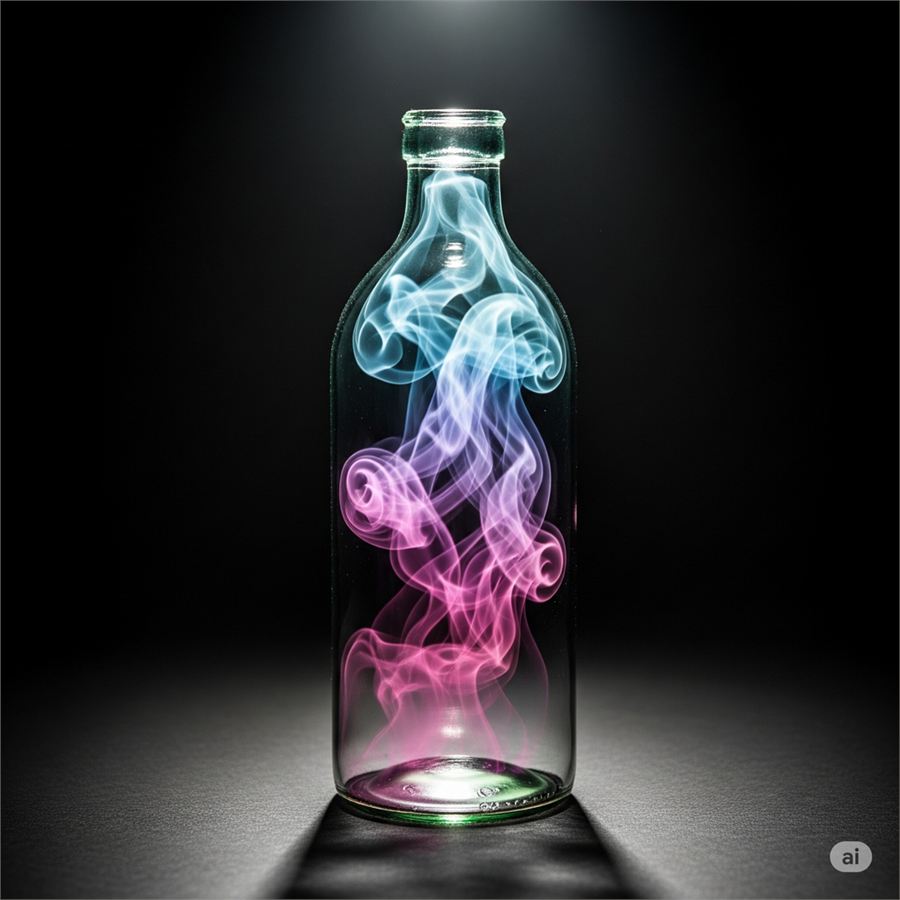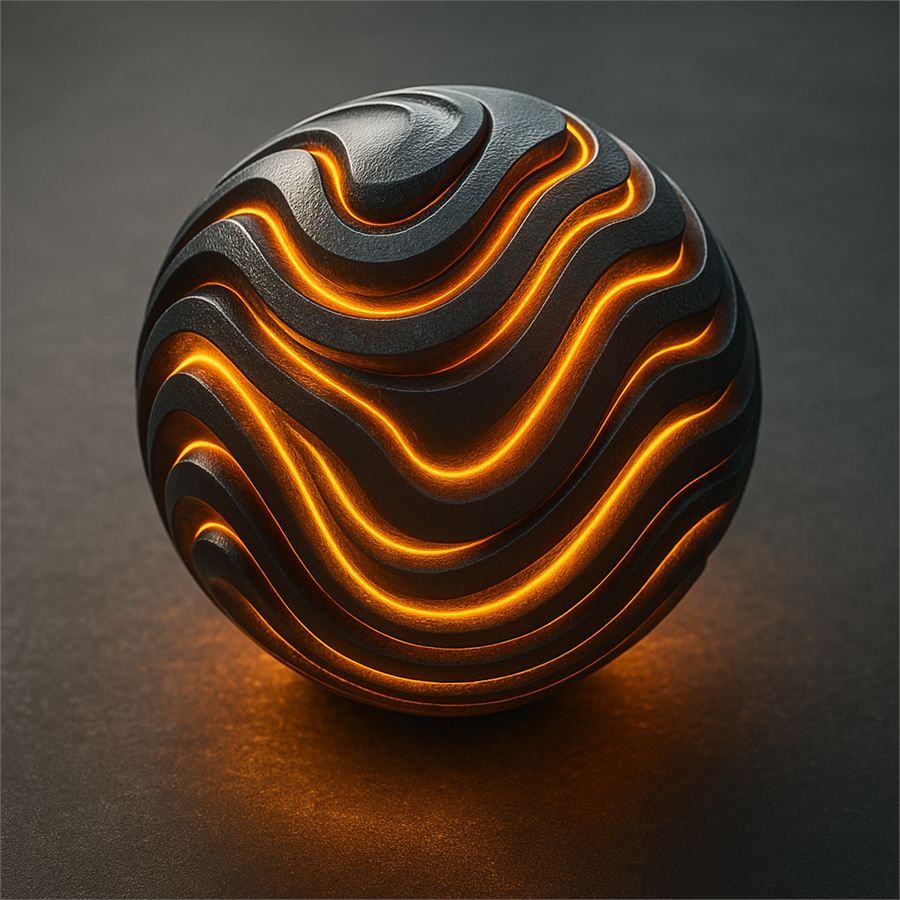
A material that looks right in one scene and plastic in the next is almost always breaking a physical rule. Physically-based rendering (PBR) is a set of those rules: describe how a surface actually reflects light, and the renderer can light it correctly anywhere — in a studio setup, outdoors, or in a real-time viewer on a phone.
The two ideas behind PBR
- Energy conservation. A surface never reflects more light than it receives. The smoother the surface, the smaller and brighter the highlight; the rougher it is, the wider and dimmer the highlight becomes.
- Metals and non-metals behave differently. Non-metals (dielectrics) reflect only a small part of the light that hits them head-on — about 4% for most materials — and show their colour through diffuse light. Metals have no diffuse component: their colour lives in the reflection itself.
Everything else in a PBR material is a way of describing those two properties across a surface.
The maps and what they mean
- Base color (albedo) — the surface colour with no lighting, shadow or highlight painted in. Colour data, sRGB.
- Metallic — mostly pure black (dielectric) or pure white (metal). In-between values are for transitions, such as dust or paint over metal. Non-colour data.
- Roughness — the most important map for realism. Fingerprints, wear and scratches live here. Non-colour data.
- Normal — fine surface detail as a tangent-space map. Check the convention: OpenGL (Y+) and DirectX (Y−) normal maps differ in the green channel.
- Ambient occlusion — contact shadows in crevices, applied by the shader rather than painted into the albedo.
- Height, emissive and opacity — only where the surface actually needs them.
Values that keep materials believable
- Keep albedo in a plausible range. For non-metals, stay above roughly sRGB 30–50 at the darkest (charcoal, fresh asphalt) and around 240 at the brightest (fresh snow). Pure black and pure white don’t occur on real surfaces.
- Metal base colours are bright. Raw metals reflect roughly 70–100% of light, which puts their base colour around sRGB 180–255.
- Vary roughness before colour. Real surfaces are rarely uniformly rough; subtle roughness variation sells a material faster than colour noise does.
- Don’t bake lighting into textures. Shadows or highlights painted into the albedo will fight the scene’s lights.
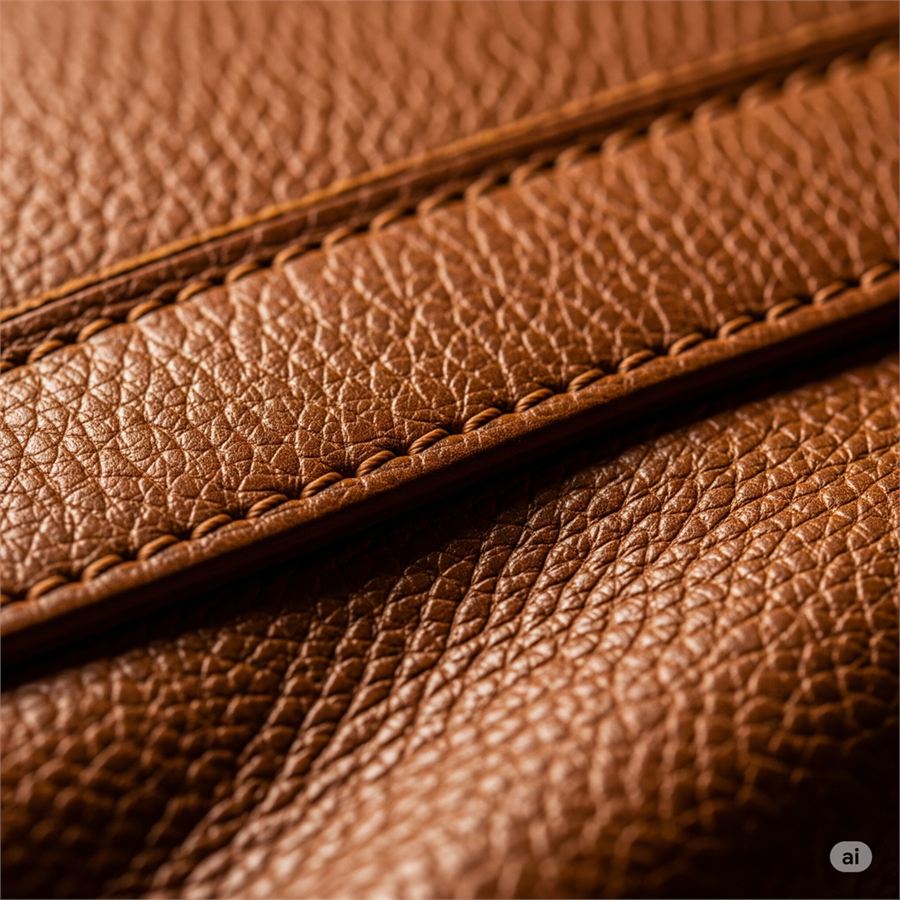
Our workflow, step by step
- Reference first. Photograph or collect the real material under neutral light, and note how it wears.
- Clean UVs. Consistent texel density across the object, seams where they won’t be seen, and padding between islands for mipmaps.
- Bake from the high-poly model. Normal, ambient occlusion, curvature and position maps tell the texturing stage where wear and dirt belong.
- Build the material in layers. Base material, then variation, then wear and dirt driven by the baked maps — in Substance Painter or directly in Blender’s node editor.
- Export per target. Offline renderers (V-Ray, Redshift, Octane, Cycles) and real-time engines expect different channel packing and colour spaces; use an export preset per target instead of converting by hand.
- Check under neutral light. A plain studio HDRI and a grey-ball scene reveal problems that a dramatic hero setup hides.
Colour management matters
Base colour and emissive maps are colour data (sRGB). Metallic, roughness, normal and height maps are non-colour data and must be read as linear. Loading a roughness map as sRGB is one of the most common reasons a material looks “off” without an obvious cause. Render through a proper view transform — AgX or ACES — so bright highlights roll off naturally instead of clipping.
A quick checklist
- No lighting painted into the albedo
- Metallic is mostly 0 or 1
- Roughness carries the surface story
- Normal map convention matches the renderer
- Non-colour maps loaded as linear
- Tested under a neutral HDRI
Texturing and materials is one of 3Desite’s core services — PBR material libraries, UV mapping and Substance workflows for metal, wood, fabric, glass and concrete. Browse the material previews in the shop, or follow the hands-on texturing workflow tutorial.